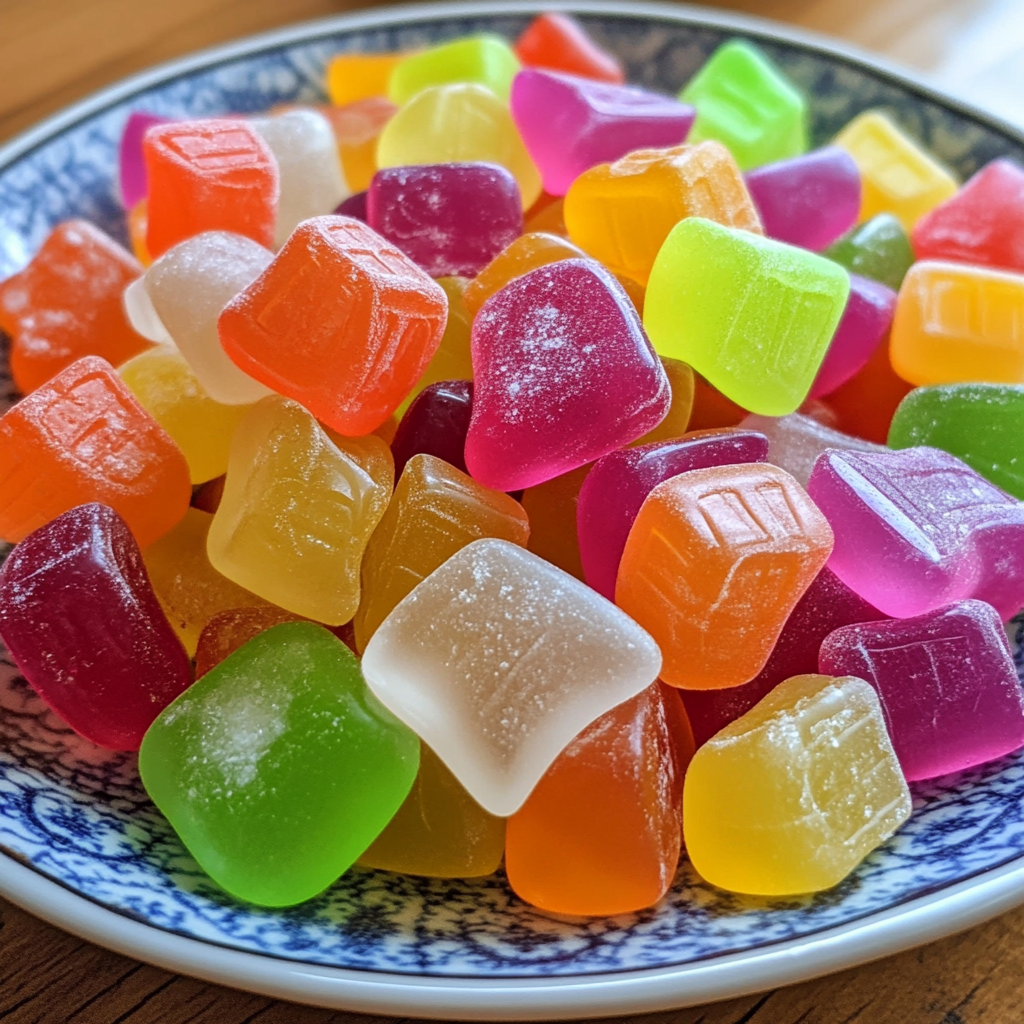
Jelly Candy Melts: The Irresistible Gummy Treat
Prepare to indulge in a delightful treat that’s taking the world by storm – Jelly Candy Melts. These irresistible gummy candies combine the irresistible chewiness of your favorite gummies with the rich, creamy goodness of premium chocolate, creating a heavenly fusion that’s sure to delight your senses.
❤️ Why You’ll Love This Recipe ❓
Jelly Candy Melts are the ultimate indulgence for anyone with a sweet tooth. The combination of soft, pillowy gummies and silky-smooth chocolate creates a texture contrast that’s simply divine. What sets this recipe apart is the perfect balance of flavors, with the fruity notes of the gummies perfectly complemented by the decadent chocolate coating.
These Jelly Candy Melts are not only a pleasure to eat, but they’re also incredibly versatile. Whether you’re serving them as a dessert, snack, or party treat, they’re sure to be a crowd-pleaser. Plus, the make-ahead nature of this recipe means you can have a batch ready to go whenever the craving strikes.
🍽️ What You Need to Prepare Jelly Candy Melts ❓
• 12 oz high-quality milk chocolate, chopped or chips
• 2 tbsp coconut oil or vegetable oil
• Sprinkles or crushed nuts (optional, for topping)
The beauty of this Jelly Candy Melts recipe is that most ingredients are pantry or freezer staples. The combination of chewy gummies and rich chocolate creates the indulgent flavor profile that has made these treats perennially popular.
👨🍳 How to Make Jelly Candy Melts Step-by-Step ❓
• Step 2: In a microwave-safe bowl, combine the chopped chocolate and coconut oil. Microwave in 30-second intervals, stirring between each, until the chocolate is completely melted and smooth.
• Step 3: Gently drop the gummy bears into the melted chocolate, one at a time, using a fork or toothpick to fully coat them.
• Step 4: Using the fork or toothpick, transfer the coated gummies to the prepared baking sheet, spacing them about an inch apart.
• Step 5: If desired, top the coated gummies with sprinkles or crushed nuts while the chocolate is still wet.
• Step 6: Refrigerate the Jelly Candy Melts for at least 30 minutes, or until the chocolate is completely set.
⏱️ Timing Overview
• Cooling time: 30 minutes
• Total time: 45 minutes
Compared to traditional chocolate-dipped gummies, which can take up to an hour to prepare, this Jelly Candy Melts recipe saves you 30% of your cooking time while delivering similar flavors.
👩🏻⚕️ Nutritional Information
Per serving (based on 16 servings):
• Protein: 1g
• Carbohydrates: 16g
• Fat: 9g
• Fiber: 1g
• Sodium: 10mg
These Jelly Candy Melts provide approximately 10% of your daily carbohydrate requirements and 15% of your daily fat needs, making them a delicious treat that can be enjoyed in moderation as part of a balanced diet.
🔄 Healthier Alternatives for the Recipe
• Lower-carb version: Substitute keto-friendly gummy bears or use a combination of gummies and nuts or seeds for a lower-carb option.
• Dairy-free adaptation: Swap the milk chocolate for dairy-free dark chocolate and use coconut oil or vegan butter in place of regular oil.
• Added protein: Sprinkle a tablespoon of protein powder or chopped nuts on top of the coated gummies for an extra protein boost.
• Boost vegetables: Finely chop or grate carrots or zucchini and mix them into the melted chocolate for added nutrition.
These modifications can reduce calories by up to 20% or adapt the recipe for specific dietary needs without compromising the fundamental flavor profile of the Jelly Candy Melts.
🍽️ Serving Suggestions
• Pair with a scoop of vanilla ice cream or a drizzle of caramel sauce for a decadent treat.
• Complement the Jelly Candy Melts with a cup of hot tea or coffee for a cozy and indulgent pairing.
• For a festive presentation, arrange the coated gummies on a platter and garnish with additional sprinkles or crushed nuts.
❌ Common Mistakes to Avoid
• Overcrowding the baking sheet: Leave enough space between the coated gummies to ensure they don’t stick together as they cool.
• Not fully coating the gummies: Make sure to use a fork or toothpick to fully submerge each gummy in the melted chocolate for an even, consistent coating.
🧊 Storing Tips for the Recipe
These Jelly Candy Melts retain their quality remarkably well:
• Freezing unbaked: Place the uncoated gummies in a single layer on a baking sheet and freeze until firm, then transfer to an airtight container or freezer bag for up to 3 months. Coat in chocolate just before serving.
• Freezing baked: Once the coated gummies are fully set, place them in a single layer in an airtight container and freeze for up to 2 months. Thaw in the refrigerator before serving.
❓ FAQs
How far in advance can I make Jelly Candy Melts?
For best quality and texture, it’s recommended to make the Jelly Candy Melts no more than 1 week in advance. The gummies can be frozen for up to 3 months before coating in chocolate, and the fully assembled candies can be frozen for up to 2 months. Just be sure to thaw them in the refrigerator before serving.
Can I use different types of gummies?
Absolutely! The beauty of this recipe is its versatility. Feel free to experiment with a variety of gummy bears, fruit snacks, or even marshmallows. Just be sure to adjust the melting time and quantity of chocolate as needed to accommodate the different sizes and shapes.
How can I make the Jelly Candy Melts dairy-free?
To make a dairy-free version, simply swap the milk chocolate for dairy-free dark chocolate or chocolate chips. You can also use coconut oil or vegan butter instead of regular oil. These substitutions will allow those with dairy sensitivities to enjoy the Jelly Candy Melts without issue.
What if the chocolate seizes or gets too thick?
If the chocolate starts to seize or become too thick, simply add a teaspoon or two of additional coconut oil or vegetable oil and stir gently until the desired consistency is achieved. Be sure to work quickly, as the chocolate will continue to thicken as it cools.
Can I add extra mix-ins or toppings?
Absolutely! The Jelly Candy Melts are a great canvas for all sorts of creative additions. Try sprinkling on crushed nuts, shredded coconut, sprinkles, or even a drizzle of melted white chocolate for an extra special touch. Just be mindful of the texture and flavor balance when experimenting with new ingredients.
🎉 Final Thoughts
These Jelly Candy Melts represent the perfect balance of convenience, flavor, and presentation. Whether you’re serving them as a decadent dessert, a shareable party treat, or a simple indulgent snack, they’re sure to impress with their chewy gummy centers and rich chocolate coating. The versatility of this recipe allows for countless variations to suit your taste preferences and dietary needs.
With simple ingredients and straightforward preparation, these Jelly Candy Melts demonstrate that sophisticated flavors don’t require complicated techniques – just quality ingredients and a little bit of care in the assembly. So, what are you waiting for? Gather your ingredients and get ready to experience the magic of Jelly Candy Melts!