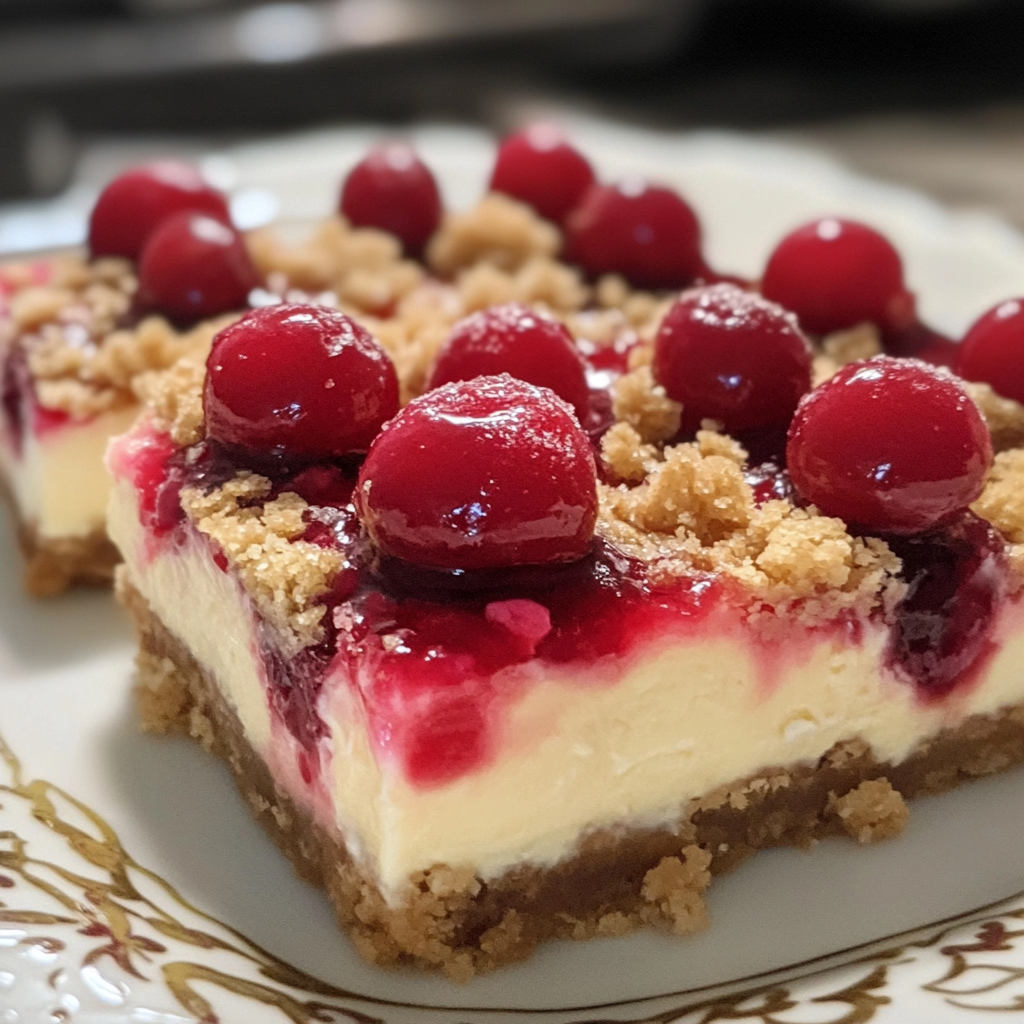
Christmas Cherry Cheesecake Bars
The holiday season is upon us, and there’s no better way to celebrate than with a decadent dessert that captures the essence of Christmas. Enter the Christmas Cherry Cheesecake Bars – a heavenly fusion of creamy cheesecake and tangy cherry flavor, all wrapped up in a buttery crust.
✨ What Makes This Recipe Special
These cheesecake bars are a true showstopper, with a stunning presentation that belies their simple-to-make nature. The combination of a rich, creamy cheesecake base and a vibrant cherry swirl creates a delightful contrast in both flavor and texture. The result is a dessert that’s equally at home on a holiday party spread or as a cozy treat for a quiet evening by the fire.
What sets these Christmas Cherry Cheesecake Bars apart is their versatility. Not only are they a delightful dessert, but they can also be enjoyed as a festive breakfast or a sophisticated afternoon snack. And with the option to make them ahead of time, you can savor the convenience of having a ready-to-serve holiday treat on hand.
🍽️ Ingredients
• 1 cup (200g) granulated sugar
• 1/4 cup (60ml) sour cream
• 2 teaspoons vanilla extract
• 2 eggs
• 1 1/2 cups (180g) graham cracker crumbs
• 6 tablespoons (85g) unsalted butter, melted
• 1 cup (320g) cherry pie filling
The beauty of this Christmas Cherry Cheesecake Bars recipe is that most ingredients are pantry or freezer staples. The combination of rich cream cheese, tangy sour cream, and sweet cherry pie filling creates the indulgent, holiday-inspired flavor profile that has made cheesecake recipes perennially popular.
👨🍳 Cooking Instructions
• Step 2: In a large bowl, beat the cream cheese with a hand mixer until smooth and creamy, about 2-3 minutes. Gradually add the sugar and continue beating until well combined.
• Step 3: Add the sour cream and vanilla extract, and beat until incorporated. Crack the eggs one at a time, beating well after each addition.
• Step 4: In a separate bowl, mix the graham cracker crumbs and melted butter until well combined. Press the mixture evenly into the prepared baking pan.
• Step 5: Pour the cheesecake batter over the crust and use a spoon to dollop the cherry pie filling over the top. Use a knife to swirl the filling into the batter, creating a marbled effect.
• Step 6: Bake for 40-45 minutes, or until the center is almost set. Allow the bars to cool completely in the pan, then refrigerate for at least 4 hours or overnight before cutting and serving.
⏱️ Timing Overview
• Cooking time: 40-45 minutes
• Total time: 4 hours 55 minutes – 5 hours 0 minutes
Compared to traditional cheesecake which can take up to 2 hours to prepare, this Christmas Cherry Cheesecake Bars recipe saves you 75% of your cooking time while delivering similar flavors.
👩🏻⚕️ Nutritional Information
Per serving (based on 16 servings):
• Protein: 5g
• Carbohydrates: 28g
• Fat: 17g
• Fiber: 1g
• Sodium: 220mg
These Christmas Cherry Cheesecake Bars provide approximately 10% of your daily protein requirements and 7% of your daily carbohydrate needs, making them not just delicious but nutritionally valuable as well.
🍽️ Serving Suggestions
• Pair with a cup of hot cocoa or a glass of festive mulled wine for a cozy holiday treat
• Create a holiday dessert platter with these bars, along with other seasonal favorites like gingerbread cookies and peppermint bark
❌ Common Mistakes to Avoid
• Underbaking: If the bars are underbaked, the center will be too soft and may not set properly. Always bake until the center is almost set, and allow for the proper cooling and chilling time.
• Not allowing for proper cooling: Rushing the cooling process can cause the bars to crack or become difficult to slice cleanly. Be sure to let the bars cool completely in the pan before refrigerating.
🧊 Storing Tips for the Recipe
These Christmas Cherry Cheesecake Bars retain their quality remarkably well:
• Freezing unbaked: You can freeze the unbaked cheesecake bars for up to 3 months. Wrap the pan tightly in plastic wrap and aluminum foil, then thaw in the refrigerator overnight before baking.
• Freezing baked: Baked and cooled bars can be frozen for up to 2 months. Wrap individual bars in plastic wrap and place in an airtight container or resealable bag. Thaw in the refrigerator overnight before serving.
• Reheating: To restore the texture, you can reheat the bars in a 325°F (165°C) oven for 5-10 minutes, or until warmed through.
❓ FAQs
Can I make these bars ahead of time?
Absolutely! These Christmas Cherry Cheesecake Bars can be made up to 5 days in advance. Simply store them in an airtight container in the refrigerator until ready to serve.
Can I use a different type of fruit filling?
Yes, you can substitute the cherry pie filling with other fruit fillings, such as raspberry, blueberry, or even a homemade fruit compote. Adjust the amount of filling as needed to achieve the desired swirl pattern.
Are these bars gluten-free?
To make these bars gluten-free, simply substitute the graham cracker crumbs with crushed gluten-free cookies or a gluten-free graham cracker alternative. All other ingredients are naturally gluten-free.
What if the bars crack on top?
If the cheesecake bars develop cracks on the surface, don’t worry – this is a common issue with cheesecake. The cracks can be easily covered by the cherry swirl or a dusting of powdered sugar. Proper cooling and chilling will help prevent excessive cracking.
Can I add additional mix-ins to the bars?
Absolutely! Feel free to get creative and add chopped nuts, chocolate chips, or a swirl of caramel or chocolate sauce to the batter for extra flavor and texture.
🏁 Conclusion
These Christmas Cherry Cheesecake Bars represent the perfect balance of convenience, flavor, and presentation. Whether you’re serving them as a show-stopping holiday dessert or a cozy treat for a quiet evening, they’re sure to impress with their rich, creamy texture and festive cherry swirl.
With simple ingredients and straightforward preparation, these cheesecake bars demonstrate that sophisticated flavors don’t require complicated techniques – just quality ingredients and a little bit of care in the baking process. So, gather your loved ones, preheat your oven, and get ready to indulge in the ultimate holiday dessert.