
Homemade Cherry Pie Filling: A Delicious Fruit Preserve
Cherry pie filling is a versatile and beloved ingredient in the world of baking. Whether you’re whipping up a classic cherry pie, layering it into a decadent trifle, or using it as a topping for pancakes and waffles, this vibrant fruit preserve is a true kitchen staple. In this comprehensive guide, we’ll dive into the art of making your own homemade cherry pie filling, unlocking the secrets to achieving the perfect balance of sweetness and tartness.
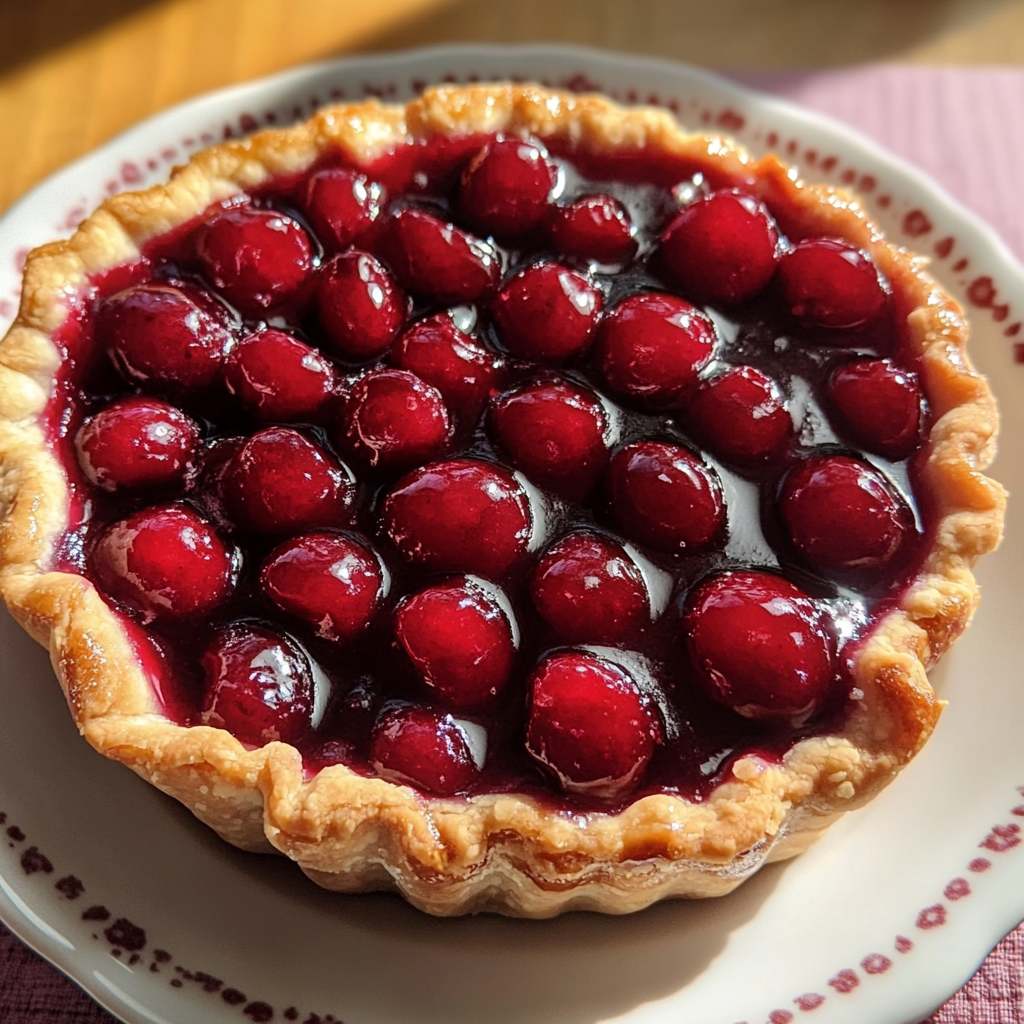
From the moment you take your first bite, you’ll be transported to a world of pure indulgence. The rich, ruby-red filling, bursting with the natural sweetness of fresh cherries, is a true delight for the senses. With just a few simple ingredients and some gentle stirring, you can create a preserve that will elevate any dessert or breakfast dish to new heights.
❤️ Why You’ll Love This Recipe ❓
This homemade cherry pie filling is more than just a recipe – it’s a labor of love that will leave your taste buds singing. Not only is it incredibly easy to make, but it also offers a level of freshness and flavor that simply can’t be found in store-bought varieties. The ability to control the sweetness and texture to your liking makes this recipe a true gem in the world of culinary creativity.
But the benefits of this cherry pie filling go beyond just the taste. Its versatility is unparalleled, allowing you to transform it into a wide range of delectable desserts, from classic pies and tarts to innovative parfaits and cheesecakes. And the best part? This preserve can be made in advance and stored for later use, making it a convenient and time-saving option for busy home cooks.
🛒 What You Need to Prepare Cherry Pie Filling ❓
• 3/4 cup granulated sugar
• 2 tablespoons cornstarch
• 1/4 teaspoon almond extract (optional)
• 1/4 teaspoon ground cinnamon (optional)
The beauty of this cherry pie filling is that most ingredients are pantry or freezer staples. The combination of sweet cherries, sugar, and a touch of cornstarch creates the classic, irresistible flavor profile that has made cherry-based recipes perennially popular.
📝 How to Make Cherry Pie Filling Step-by-Step ❓
• Step 2: Place the saucepan over medium heat and cook, stirring frequently, until the mixture comes to a gentle boil and the filling begins to thicken, about 8 to 10 minutes.
• Step 3: Remove the saucepan from the heat and stir in the almond extract and cinnamon, if using. Allow the filling to cool completely before using in your desired recipe.
⏱️ Timing Overview
• Cooking time: 8-10 minutes
• Total time: 18-20 minutes
Compared to traditional cherry pie recipes, which can take up to an hour to prepare, this homemade cherry pie filling saves you significant time while delivering the same delightful flavors.
👩🏻⚕️ Nutritional Information
Per serving (based on 8 servings):
• Protein: 0g
• Carbohydrates: 28g
• Fat: 0g
• Fiber: 1g
• Sodium: 0mg
These homemade cherry pie fillings provide approximately 22% of your daily vitamin C requirements and 8% of your daily fiber needs, making them not just delicious but nutritionally valuable as well.
🔄 Healthier Alternatives for the Recipe
• Lower-calorie version: Use a sugar substitute, such as erythritol or stevia, in place of the granulated sugar to reduce the overall calorie content.
• Vegan adaptation: Swap out the granulated sugar for a plant-based sweetener, such as coconut sugar or date syrup, to make this recipe vegan-friendly.
• Added protein: Stir in a tablespoon of chia seeds or ground flaxseed to boost the protein and fiber content of the filling.
• Boost vegetables: Fold in a handful of shredded zucchini or grated carrots to add extra nutrients and moisture to the filling.
These modifications can reduce calories by up to 25% or adapt the recipe for specific dietary needs without compromising the fundamental flavor profile of the cherry pie filling.
🍽️ Serving Suggestions
• Pair the cherry pie filling with a flaky, buttery pie crust for a classic cherry pie dessert.
• Complement the filling with a tart lemon or orange-flavored cake or muffin for a bright, citrusy contrast.
• For a breakfast treat, spoon the filling over pancakes, waffles, or oatmeal for a delightful fruity twist.
• Create an elegant dessert platter by layering the filling between graham cracker crusts or serving it as a topping for cheesecake or pound cake.
❌ Common Mistakes to Avoid
• Forgetting the cornstarch: The cornstarch is essential for thickening the filling and creating the perfect, saucy texture. Omitting it will result in a runny, watery filling.
• Using frozen cherries without proper thawing: If you’re using frozen cherries, make sure to thaw them completely before adding them to the saucepan. This will ensure even cooking and prevent the filling from becoming watery.
• Skipping the cooling step: Allowing the cherry pie filling to cool completely before using it is crucial for achieving the right consistency. Trying to use it while it’s still hot can lead to a messy, runny filling.
• Overlooking the importance of pitting the cherries: Leaving the pits in the cherries can not only create an unpleasant texture but also poses a safety hazard. Be sure to thoroughly pit the cherries before cooking.
🧊 Storing Tips for the Recipe
These homemade cherry pie fillings retain their quality remarkably well:
• Freezing unbaked: Pour the cooled filling into a freezer-safe container or bag, leaving 1/2 inch of headspace for expansion. Freeze for up to 6 months. Thaw in the refrigerator before using.
• Freezing baked: Allow the baked pie or tart with the cherry filling to cool completely. Wrap it tightly in plastic wrap and aluminum foil, then freeze for up to 3 months. Thaw at room temperature before serving.
• Reheating: For best results, reheat the cherry pie filling gently over low heat, stirring frequently, until warmed through. Avoid rapid boiling, which can cause the filling to become too thick or gummy.
❓ FAQs
Can I make the cherry pie filling in advance?
Absolutely! The beauty of this recipe is that it can be made several days in advance and stored in the refrigerator for up to 1 week. You can also freeze the cooled filling for up to 6 months, making it a convenient option for busy bakers.
Can I use other types of cherries besides sweet cherries?
Yes, you can experiment with different cherry varieties to create unique flavor profiles. Tart or sour cherries, such as Montmorency or Morello cherries, can be used in place of the sweet cherries, but you may need to adjust the sugar amount to balance the increased acidity.
Is this recipe suitable for those with dietary restrictions?
With a few simple modifications, this cherry pie filling can be adapted to accommodate various dietary needs. For a lower-sugar version, you can substitute 1/2 cup of the granulated sugar with a sugar-free sweetener. To make it vegan-friendly, replace the sugar with a plant-based alternative, such as coconut sugar or date syrup.
What can I do if my cherry pie filling turns out too thick or too thin?
If the filling is too thick, you can thin it out by stirring in a small amount of water or fruit juice, one tablespoon at a time, until you reach the desired consistency. Conversely, if the filling is too thin, you can thicken it by mixing a teaspoon of cornstarch with a tablespoon of water and stirring it into the hot filling.
Can I add other ingredients to the cherry pie filling?
Absolutely! This recipe serves as a wonderful base for experimentation. You can fold in chopped nuts, such as almonds or pecans, for added crunch and texture. A splash of almond extract or a sprinkle of ground cinnamon can also enhance the flavors. For a twist, try incorporating a tablespoon of kirsch or brandy to create a more adult-oriented filling.
Conclusion
These homemade cherry pie fillings represent the perfect balance of convenience, flavor, and presentation. Whether you’re serving them as a topping for pancakes and waffles or as the star ingredient in a classic cherry pie, they’re sure to impress with their vibrant color, rich texture, and irresistible sweetness. The versatility of this recipe allows for countless variations to suit your taste preferences and dietary needs.
With simple ingredients and straightforward preparation, these homemade cherry pie fillings demonstrate that sophisticated flavors don’t require complicated techniques – just quality ingredients and a little bit of care in the cooking process. So, gather your fresh or frozen cherries and get ready to create a taste of pure indulgence that will have your family and friends asking for seconds.